Installing Virtual machine is the fun part on any operating system, but when it comes to Windows it is quite easy. We are looking at how to install virtual machine or how to install VM Ware Workstation 16 on Windows 10.
VM Ware 16 has made it quite easy for free users or learning training users to install VM Ware Workstation 16 on your Windows machine.
With just a simple EXE available for download on their exclusive website, you can start with the installation of VM Ware in Windows 10 and get ready with your latest virtual machine.
It is quite easy to fall for multiple options available for installing virtual machines on your computer, but VM Ware 16 is the easiest one to choose from.
Video: How To Install Vmware On Windows 10
Here is the list of other virtual machine software which can be used for installing on Windows 10.
A quick note for all the new users, installing VMware,
always download VMware workstations from the official VM Ware website and not from anywhere else.
Do not use any cracked or cheap versions which may harm your computer than doing any good.
Because VM Ware has kept their virtual desktop free of cost with all the good features for training learning Professionals As well as students.
How To Install Vmware Workstation 16 On Windows 10
So let’s get started On how to install vmware in windows 10
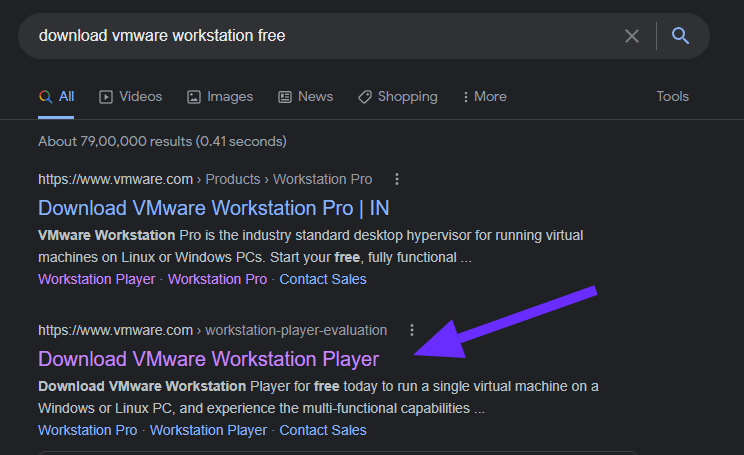
Open your browser, whichever is your favorite one, and put in the exact query ”Download VM Ware workstation free” Without quotes.
Now as shown in the picture below, click on the First link Or the link which reads download VM Ware Workstation
When you click on that link you will have this page opened in where you will need to click on the left option of downloading the VM Ware workstation.
Although it says try VM Ware but the truth is Maris kept it free for students and all other learning, training and teaching professionals. So you can download it without any hesitation.
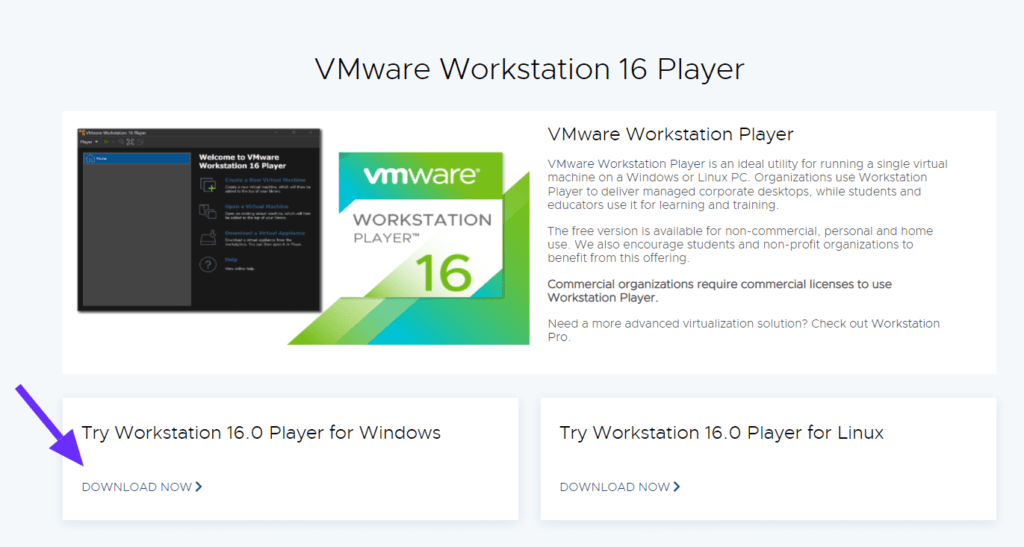
Click on download.
Once download is complete, Follow the steps.
Steps to remember
Make sure you’re logged into your Windows 10 machine with administrative rights.
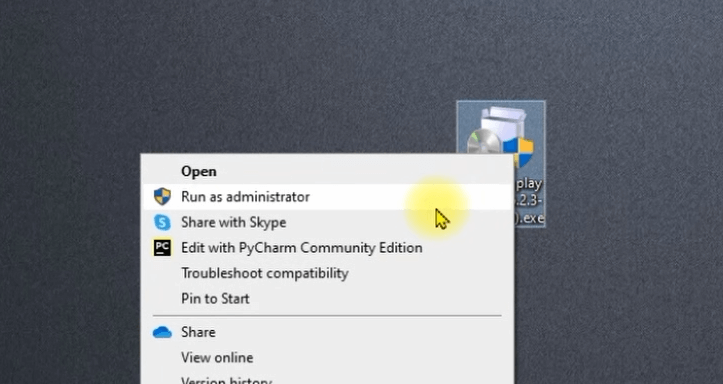
Once the download is complete, find out the EXE location where you download it and right click and select run as administrator.
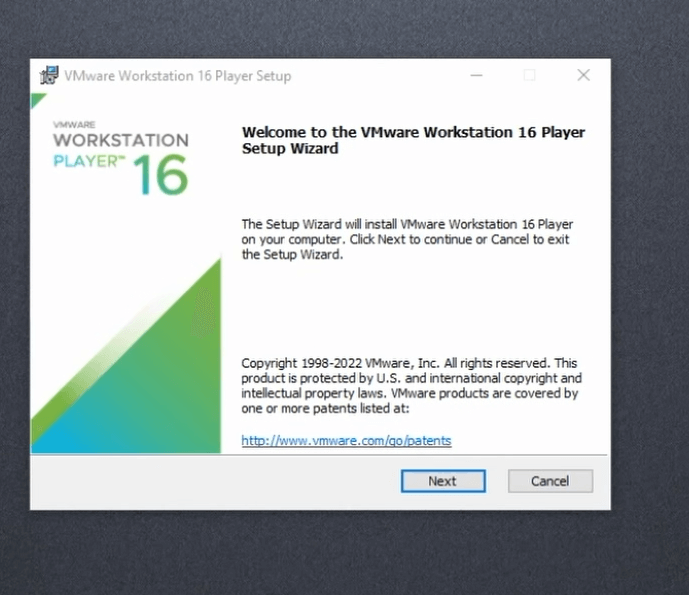
Click next on the installer window.
In the new window,
Keep the option for enhanced keyboard driver unchecked. You do not require this.
Make sure the checkbox for add VM Ware Workstation console. Tools into system path is checked.
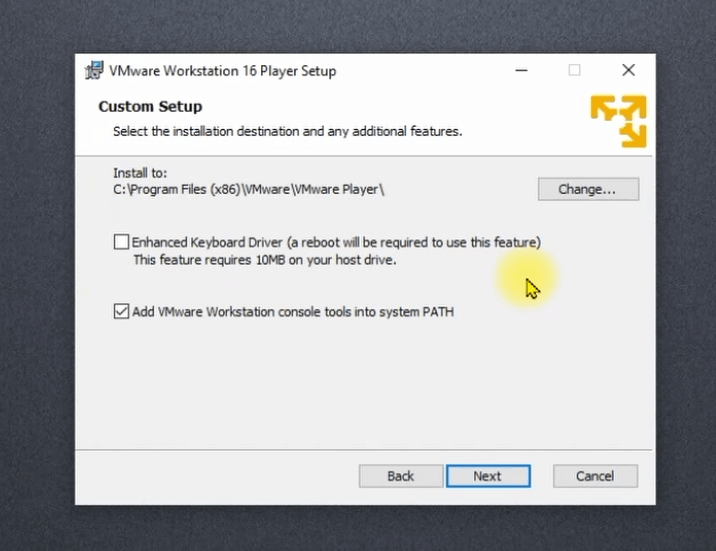
Now click next.
Keep the checkbox for product updates checked
And you can check or uncheck experience improvement program
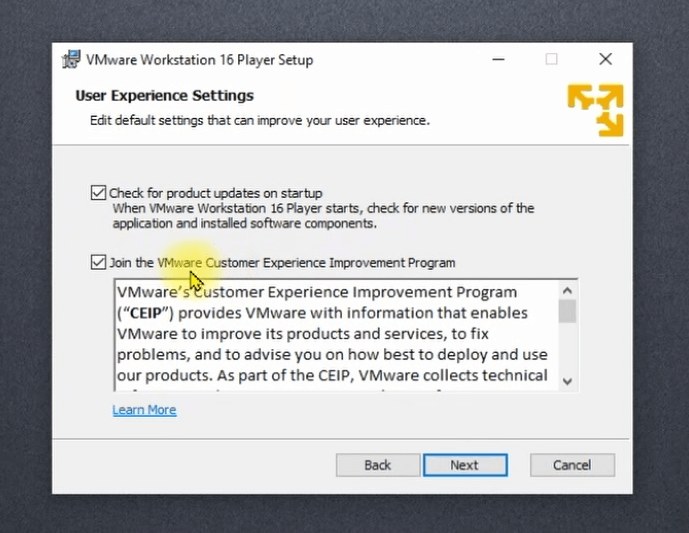
Click next.
Let both of them be checked, the desktop and the Start Menu folder items. This will give you access. In the Start menu as well as on the desktop as a shortcut.
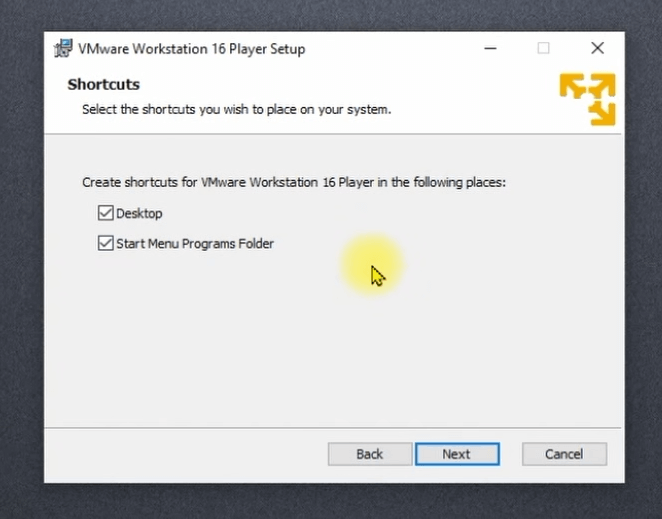
Click next
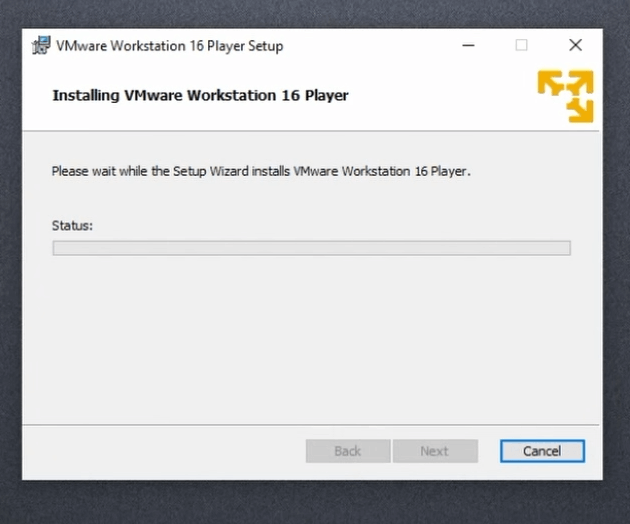
The installer will begin installing
The install may take some time, a bit more on some systems depending on the configuration.
Be patient and once the installation is finished, You will find an icon on the desktop. Just double click it.
You will find a welcome screen with a license option.
By default use VM Ware Workstation player for free. Noncommercial use will be selected. Keep it as it is and click on continue
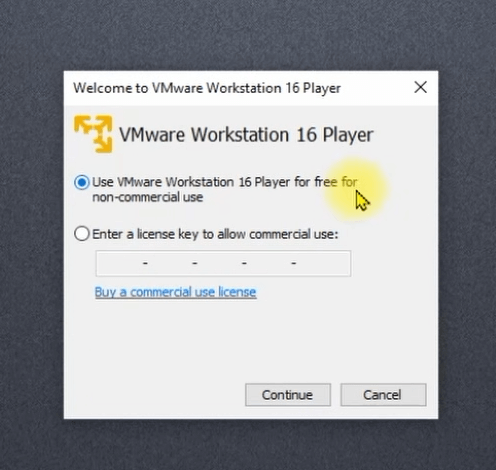
Congratulations, you have successfully installed. And you now know how to install Vmare Workstation 16 on Windows 10.
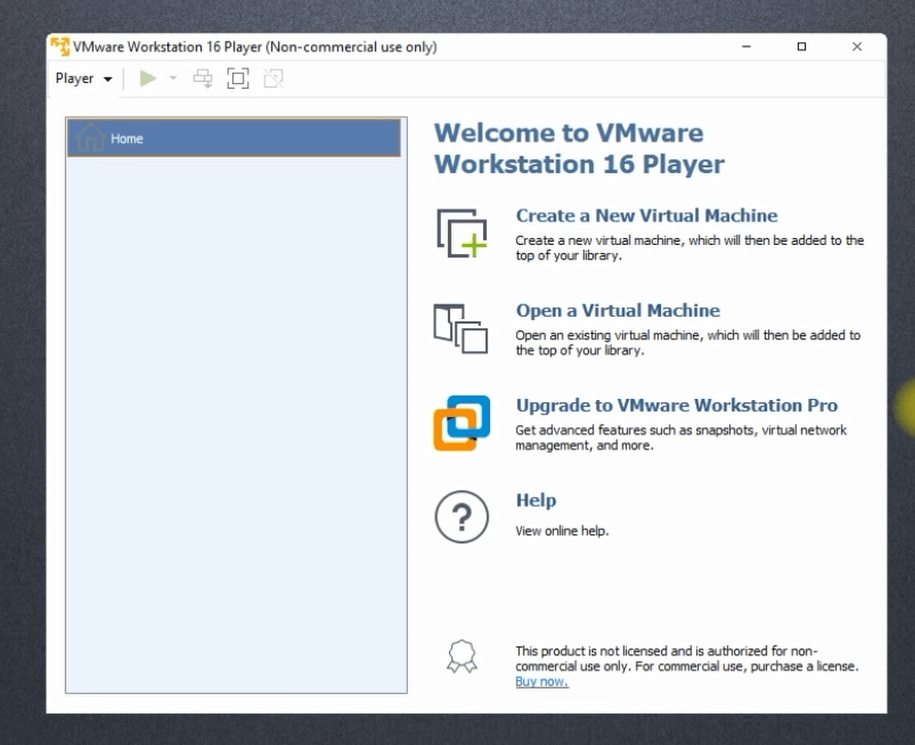
Do not worry, you will not be requested to put in the license or the license key in any form. You can enjoy it Without purchasing for non commercial use only.
VM Ware automatically detects whether the use is commercial or not.
For next steps, learn how to install Windows 10 in VM Ware | Easy method How to install Windows 10 on VM Ware.

Good article. I definitely appreciate this website. Stick with it!